Announcement

Collapse
No announcement yet.

Barco DP4K-P contrast boost: Adding a DIY lens iris.

Collapse
X
 
  • Filter
  • Time
  • Show
Clear All
new posts

  • Barco DP4K-P contrast boost: Adding a DIY lens iris.

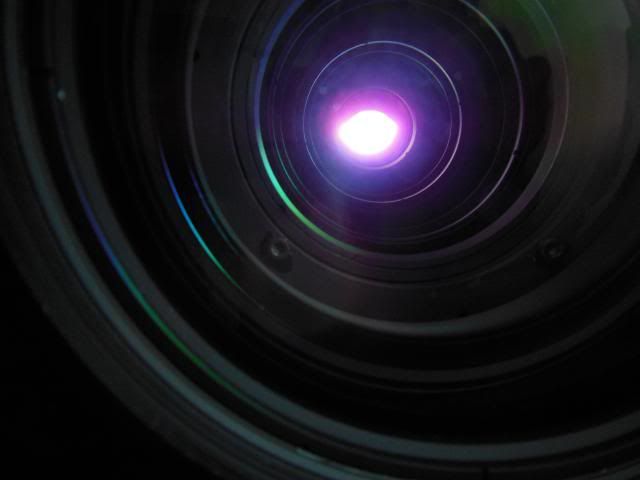
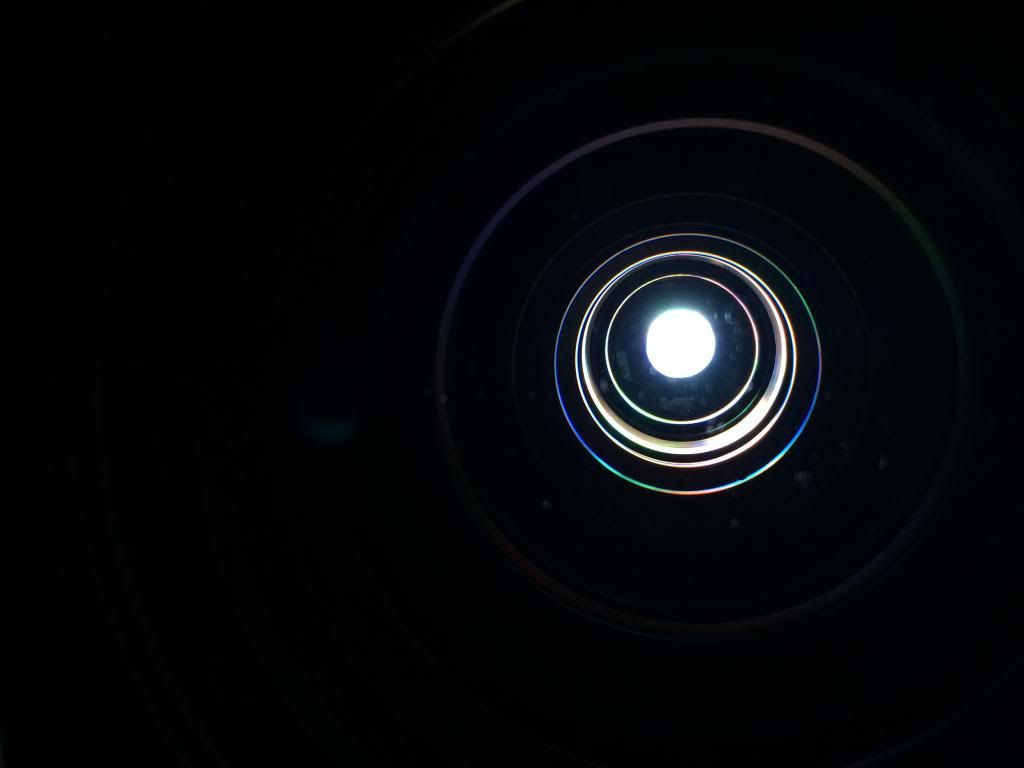
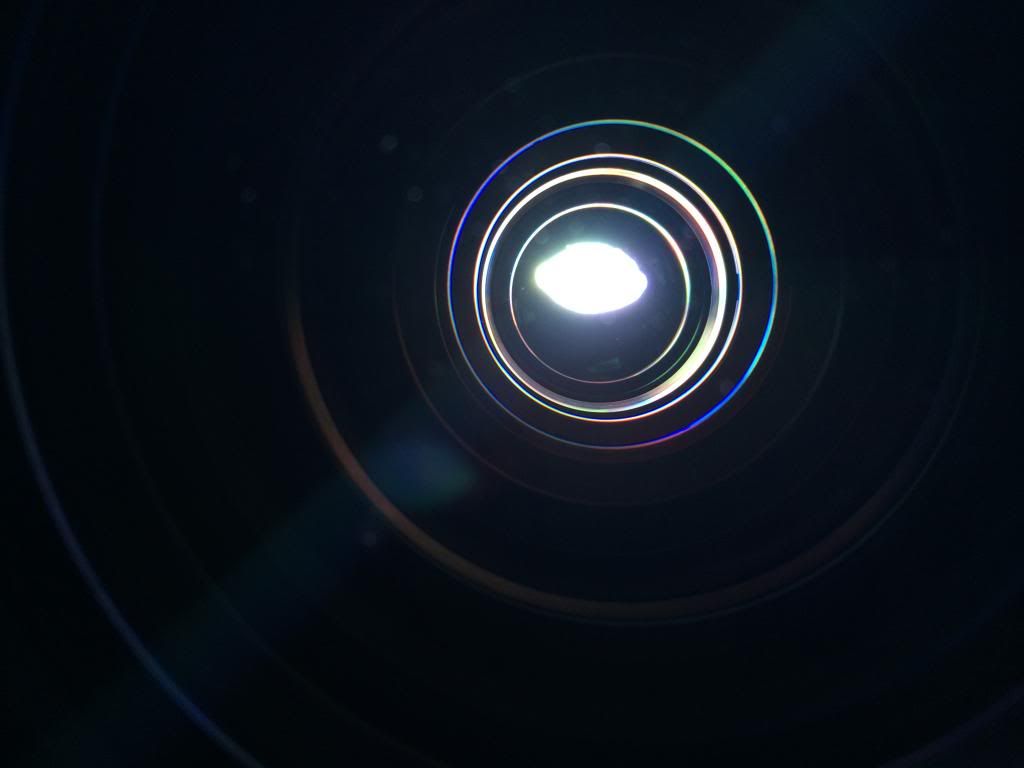
    While I have a factory HC lens coming from Belgium being assembled but weeks away from arrival I decided to have a little fun and add a DIY iris to my existing Minolta lens. There is a mathematical formula to figure the ideal placement of the iris and a few manual methods one of which involves placing a piece of white paper inside the lens to find the image focal point and observe the internal light scatter. The idea is to let as much white light pass while blocking scattered black light. A 0IRE test pattern will appear larger and different in shape in the lens then a 100IRE pattern. 3 chip DLP further complicates things, light during off state scatters from different directions. The iris does not always have to be cats eye in shape but that is what I decided to work with. Adding an additional iris in the projectors light pipe will add further results. It is important if multiple iris are used they all be the same shape, if not the result could hurt contrast.
    I constructed the aperture of very heavy paper stock painted flat black with a layer of felt tape on top.
    It will be interesting to compare the size and shape and location of my DIY iris to the factory HC lens once it arrives.
    While I did not measure light loss visually I noticed very little loss from the iris compared to the iris placed in the light pipe. Caution: getting to aggresive with the iris aperture will cause uniformity issues.
    Below are resulting numbers measured using a Minolta T10. This is a first attempt, I believe there is still room for improvement.

    Iris in lens with stock iris in light pipe.
    DCI color space
    2k lamp
    2,415:1 contrast

    Iris in lens with stock P iris
    DCI color space
    2k lamp
    2667:1 contrast

    Iris in lens with most aggressive iris
    DCI color space
    2k lamp
    3356:1 contrast calibrated
    3396:1 contrast un calibrated


    I caution everyone I do not recommend this as taking your lens apart could result in canceled warranty and or damage to your lens.

  • #2
    Let us know when you receive your factory lens and how your numbers compare. Do we know the native contrast of the chip?

    Comment


    • #3
      Can someone explain why the CR is the same for DCI and Rec 709 color spaces? The black (off state) should be the same for both color calibrations. The white (100 IRE) should be significantly higher for DCI because the DCI primaries are closer to the native primaries of the projector than the smaller color gamut primaries of Rec 709. The DCI calibrated CR should be significantly higher.

      Comment


      • #4
        Ivan good catch. I have edited and removed
        the mention of 709 ( the source was 709 ) the IMB converts everything to XYZ.Because I measured uncalibrated I was using the same color space and memory macro in the projector.
        I should have noted the source but the fact I was still measuring the same parameters that leaves no reason to even mention it, better removed.
        I should note all measurements were taken using the projectors built in test patterns with the exception I used the test patterns from a BD player when I incorrectly posted the 709 numbers.

        A few comments regarding the DIY iris, my first attempt combined with the aggressive
        iris in the projectors light pipe gave a slight uniformity issue
        not noticed when viewing content but using a 100IRE could be detected. I have since modified the lens iris, not as aggressive to correct any uniformity issues. No new numbers will be posted when I revisit the project once the factory HC lens arrives. Will measuring and document light loss as well.

        Comment


        • #5
          That is a great increase Mr. Pixels.

          I'm glad how MIT takes credit for the work they did on my custom projector. If it was not for my DP-2K order they would have never stumbled on this one. Then we order the smaller plates in increments of 5%. We monitored the heat in the light pipe with several of these. The real challenge of increasing contrast is the with lasers.
          https://twitter.com/CINERAMAX<br /><br />https://WALLSCREEN-SKYLOUNGES.COM

          Comment


          • #6
            Yes Peter gets credit for the after market aperture plates designed for Barcos light path

            Comment


            • #7
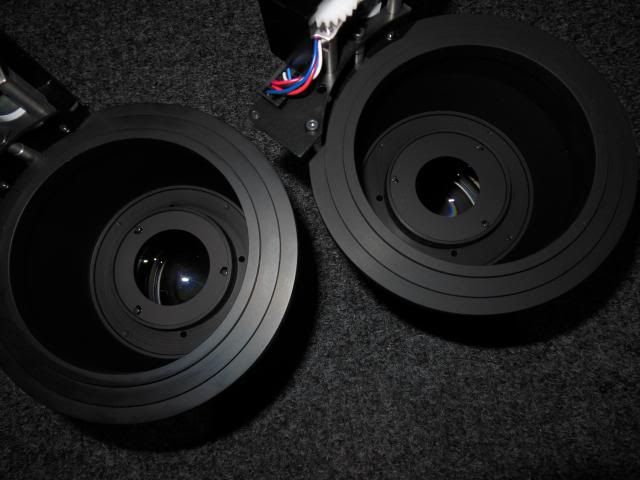
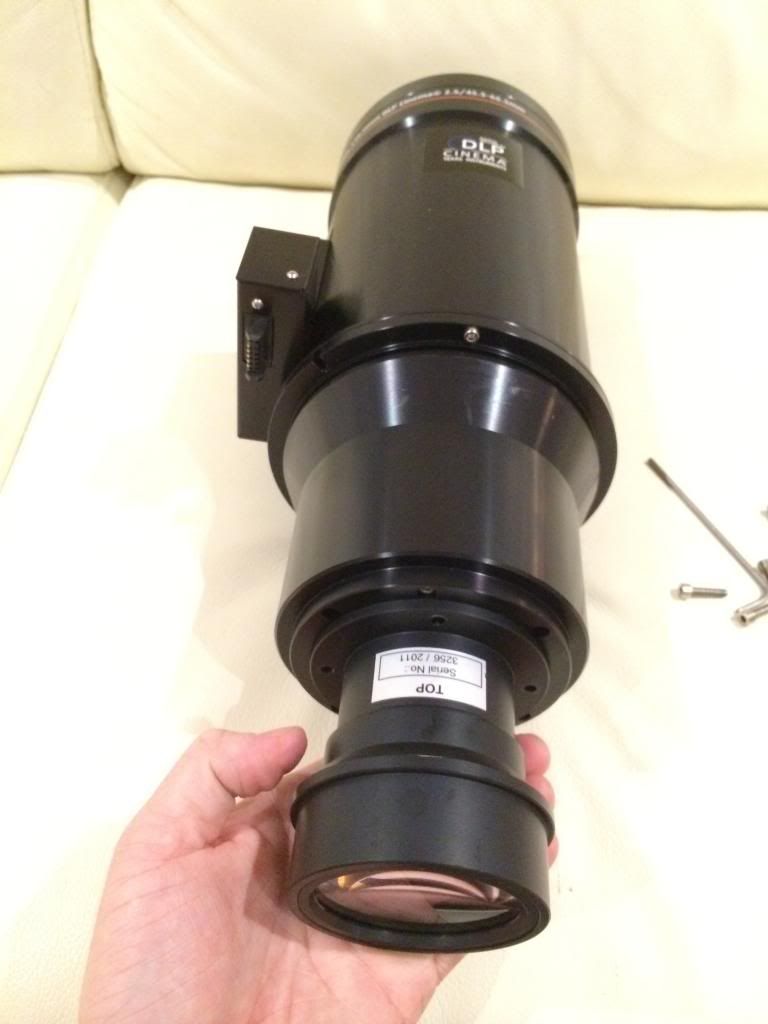
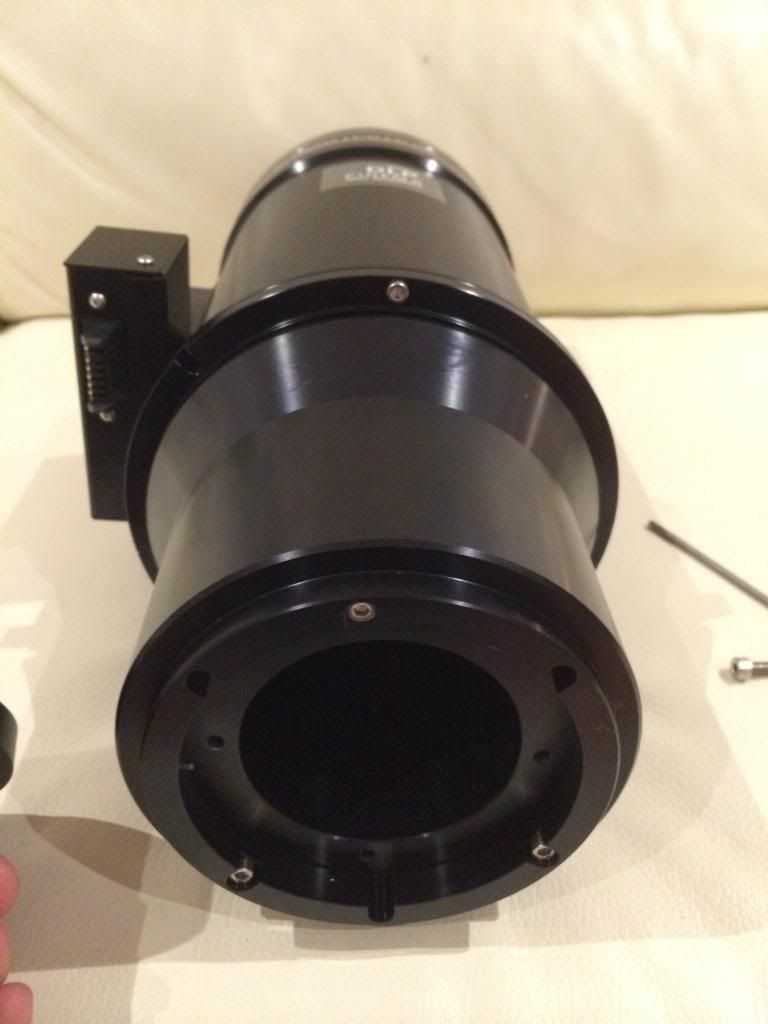
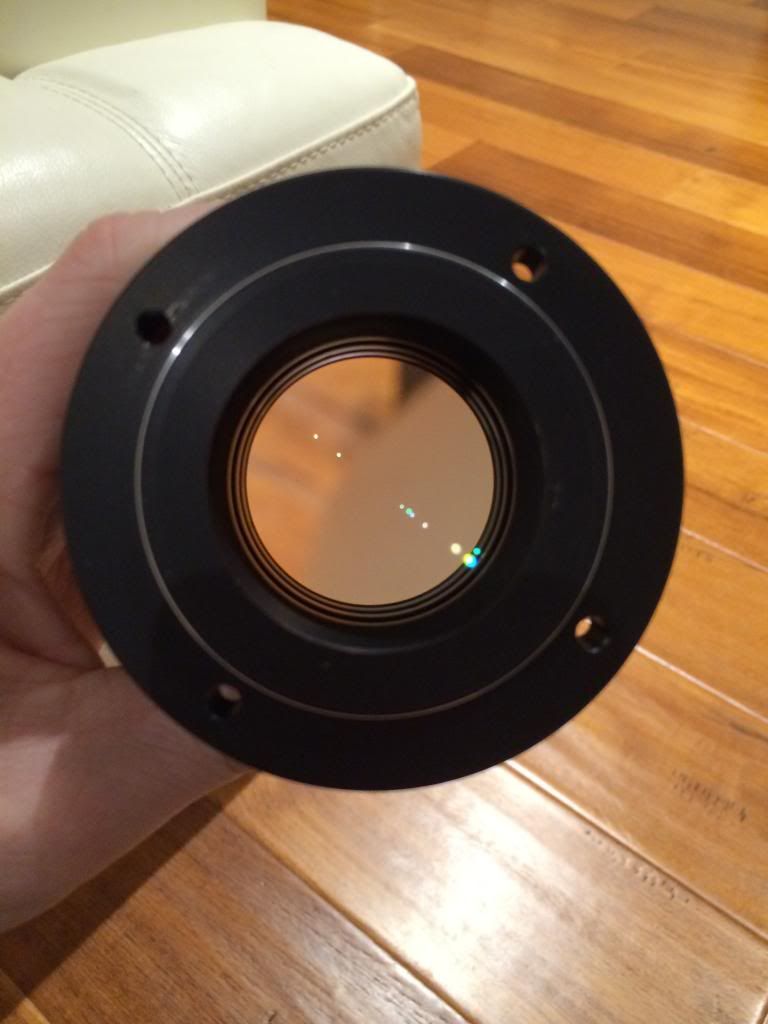
              The HC lens from Barco has arrived. Picture are two identical lens disassembled showing one with stock iris the other with a more aggressive iris that comes with the DP4k-P. Clearly not cats eye in shape.

              Comment


              • #8
                Thanks Mr. P!

                Soo... How easy is it to pop a reduced aperture into these lenses? Take it to a lens shop?

                BTW had a brief discussion with a product manager for one of these DCI companies and he is saying that contrast enhancement in LASER is done with lenses and to not expect much more than 3:500.1. Which I am fine with.
                https://twitter.com/CINERAMAX<br /><br />https://WALLSCREEN-SKYLOUNGES.COM

                Comment


                • #9
                  Each lens (throw ratio ) is different in design some maybe more difficult to get to the iris (all have an iris ) but in my case access is very easy.

                  BTW had a brief discussion with a product manager for one of these DCI companies and he is saying that contrast enhancement in LASER is done with lenses and to not expect much more than 3:500.1. Which I am fine with.
                  That is important to know.
                  From my experience the iris in the lens is the more efficient of the two. I still have excellent uniformity I should be able to maximize both light output and contrast if I back off on the aperture near the lamphouse and get more aggressive in the lens. I agree 3500:1 is a very nice visual improvement.

                  Comment


                  • #10
                    If the round iris in the P lens is centered, it's reduced size will improve uniformity.

                    Comment


                    • #11
                      If the round iris in the P lens is centered, it's reduced size will improve uniformity.<\q>

                      That is good to know, thank you.

                      Comment


                      • #12
                        I decided to change to a cats eye iris within the lens and went a little more aggressive closing the aperture another 30% being careful to align the iris with the offset position of the lens to maximize uniformity. Looking into the lens the reduction in aperture is noticeable, I am surprised I maintained uniformity.
                        I also reduced the stock P iris in the light pipe another 15%.
                        Using a 2k lamp Im hitting 4500:1.
                        Knowing where to place the iris within the lens is key to maximizing contrast.
                        There is still a little wiggle room left for improvement but I am leaving a good thing alone, project done.
                        If a laser retro becomes available numbers may improve.
                        In the next few days I will take some light measurements between the stock components verses modified parts.

                        Comment


                        • #13
                          Forgot to mention all light spill outside the image on the screen is gone. Finally, projecting a complete black raster there is no more reflected light from internal lens reflection. The only light energy exiting the lens is that from the 1.85:1 raster. The projectors electronic masking is now black no loner grey.

                          Comment


                          • #14
                            Those are awesome numbers! I made a bunch of apertures to put in my lens, and have found that the cats eye shape does the very best job with uniformity. I found that if I used a perfect circle, the smaller I made it, the worst the uniformity got. The cats eye shape can be significantly smaller and still maintain good uniformity.

                            Comment


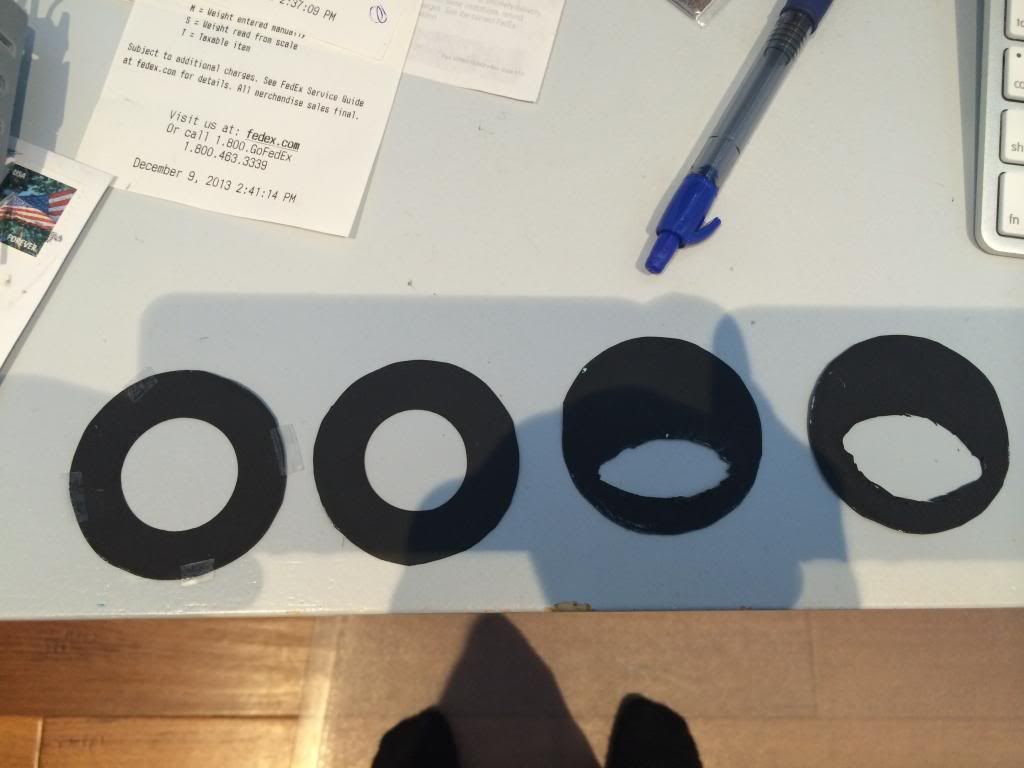
                            • #15
                              Here are some of the apertures i made. These look terrible, but help determine what works the best. Once I settle on a size, I will get one professionally cut. So far the cats eye shape is by far the most effective.


                              Comment

                              Working...
                              X